
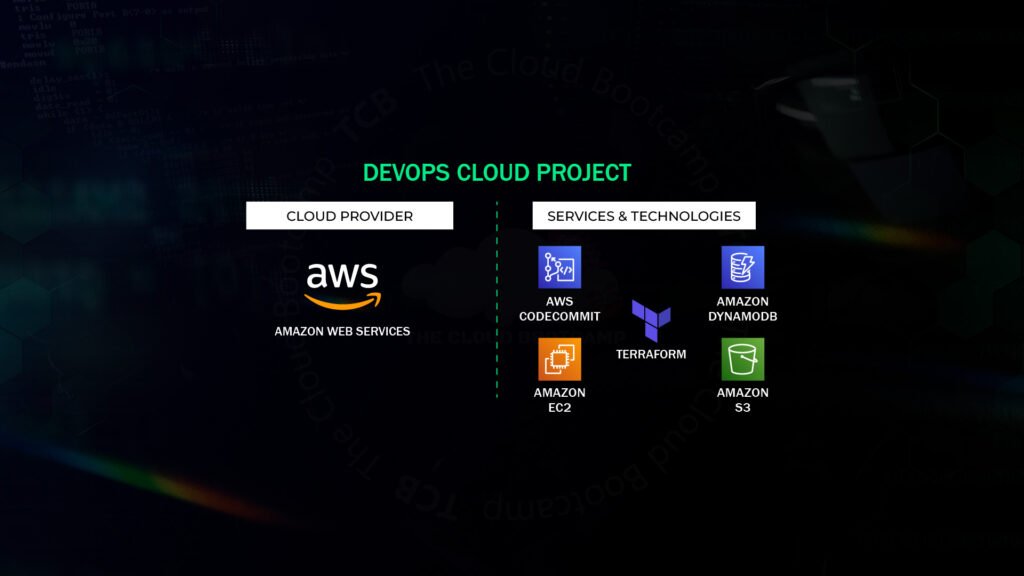
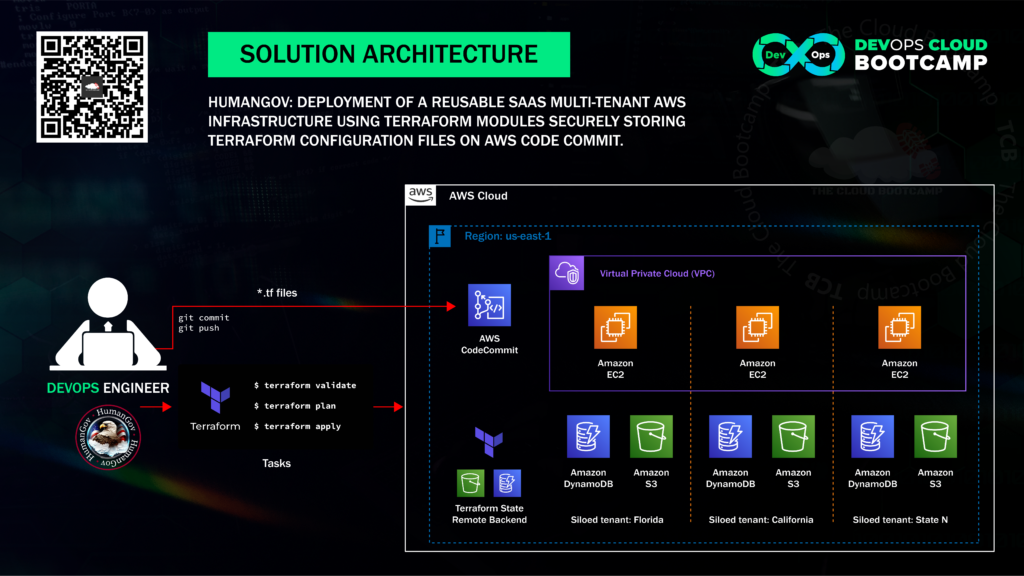
In this project based on a real-world scenario, I designed and deployed a reusable, multi-tenant SaaS infrastructure on AWS using Terraform modules.
The infrastructure was based on AWS services such as EC2 instances, DynamoDB databases, and S3 buckets. To ensure the secure storage of Terraform configuration files, I used AWS CodeCommit to ensure that the files were available to other members of my team.
I utilized Terraform with a Module to create the desired infrastructure consisting of 5 resources: a security group, an EC2 instance, a DynamoDB table, a random string, and an S3 bucket. Terraform will cycle through the module once for each state in a list I provided, setting up the desired 5 resources for each state in the list.
Note: To keep the project within the capabilities of the AWS free tier, I limited the project scope to only 3 states: California, Texas, and Florida. See below for the writeup on the project.
Part 1
Building the SaaS infrastructure using Terraform Modules
We’ll start by creating the Module, which the main Terraform script will iterate through once for each state in a list of states we’ll be providing. The module will create the same 5 resources for the infrastructure for each individual state.
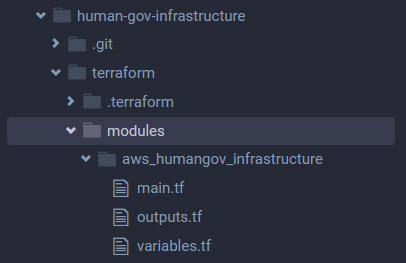
To get started building the required infrastructure for the SaaS platform, I first created a ‘modules’ and ‘modules/aws_humangov_infrastructure’ sub-directories within the ‘terraform’ folder of the “human-gov-infrastructure” environment I’d created in a previous project, and then created the necessary files in ‘aws_humangov_infrastructure’ via the command line by running:
touch main.tf variables.tf outputs.tf
The module’s variables.tf file declares the ‘state_name’ variable, which will be referenced by the main.tf file.
I configured the module’s main.tf file to create the desired infrastructure consisting of 5 resources: a security group, an EC2 instance, a DynamoDB table, a random string, and an S3 bucket. The random string(s) generated will be used as part of the S3 bucket name(s). We’ll be using a feature called interpolation to populate the names of various resources (ec2 instance, s3 bucket, etc.) with the value ‘state_name’ as part of the names, as well as to utilize the ‘random-string’ values as part of the S3 bucket names. That way the name creation is automated, rather than having to be entered manually for each state’s resources.
Here is a sample of the code for the string and S3 bucket creation:
resource “random_string” “bucket_suffix” {
length = 4
special = false
upper = false
}
resource “aws_s3_bucket” “state_s3” {
bucket = “humangov-${var.state_name}- s3-${random_string.bucket_suffix.result}”

tags = {
Name = “humangov-${var.state_name}”
}
The module will iterate once for each ‘state_name’ in our list, automating the creation of each state’s individual resources.
The outputs.tf file will display a summary of a the public dns, dynamodb table name, and the S3 bucket name of reach resource created.
Next we’re going outside the module to the ‘terraform’ directory.
The variable.tf file here will declare the ‘states’ variable which is the list of state names.
The main.tf file references the ‘aws_humangov_infrastructure’ module’s main.tf file and the ‘terraform’ variable.tf file to iterate the module and create the resources for each of the specified states, using the following code:
provider “aws” {
region = “us-east-1”
}
module “aws_humangov_infrastructure” {
source = “./modules/aws_humangov_infrastructure”
for_each = toset(var.states)
state_name = each.value
}
Now we can run ‘terraform init’ followed by ‘terraform validate’ and check if everything looks good, and we receive confirmation that the configuration is valid:

If we run ‘terraform plan’ we can see that terraform will create 15 resources; 5 resources per state for 3 states. Looks good.

We’ll then run Terraform apply, and we can see the outputs with the information we configured:

Before we move on, we’ll run ‘terraform destroy’ to remove the resources that we created.
Part 2
Configuring the Terraform backend in AWS
Now we’re going to work on moving the terraform state file, terraform.tfstate, to AWS from our local development environment. Right now the terraform configuration is residing in the local development environment only. This poses a risk to a production environment. For example, if the developer loses or removes the instance, the instance crashes, or if they accidentally removes the terraform.state file from the instance.
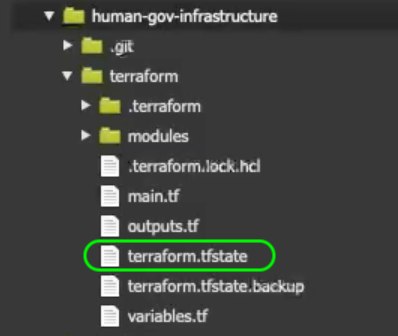
To mitigate this risk, we’re going to migrate the local ‘terraform.tfstate’ file from the local environment to an S3 bucket, and the lock file to a DynamoDB table.
Since we don’t want the S3 Bucket and DynamoDB table that will contain these state files to be associated with the rest of the Terraform infrastructure (so that they won’t destroyed by a ‘terraform destroy’ command) we’re going to create them via the command line and then confirm via the AWS console that the resources have been created.
aws s3api create-bucket — bucket humangov-terraform-state-ryness — region us-east-1

aws dynamodb create-table \
— table-name humangov-terraform-state-lock-table \
— attribute-definitions AttributeName=LockID,AttributeType=S \
— key-schema AttributeName=LockID,KeyType=HASH \
— provisioned-throughput ReadCapacityUnits=5,WriteCapacityUnits=5 \
— region us-east-1

- Note: Though the DynamoDB table has been created, the table contains no items, because we haven’t yet migrated the state.
We’ll now create the ‘backend.tf’ file in the ‘terraform’ folder and populate it with the backend configuration as shown below:
terraform {
backend “s3” {
bucket = “humangov-terraform-state-ryness”
key = “terraform.tfstate”
region = “us-east-1”
encrypt = true
dynamodb_table = “humangov-terraform-state-lock-table”
}
}
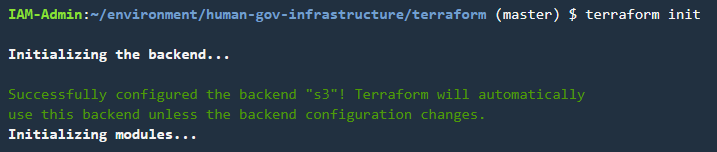
If we run ‘terraform init’ we should receive confirmation that the s3 backend was successfully configured.
We’ll run‘terraform apply’ to create the resources on the backend.
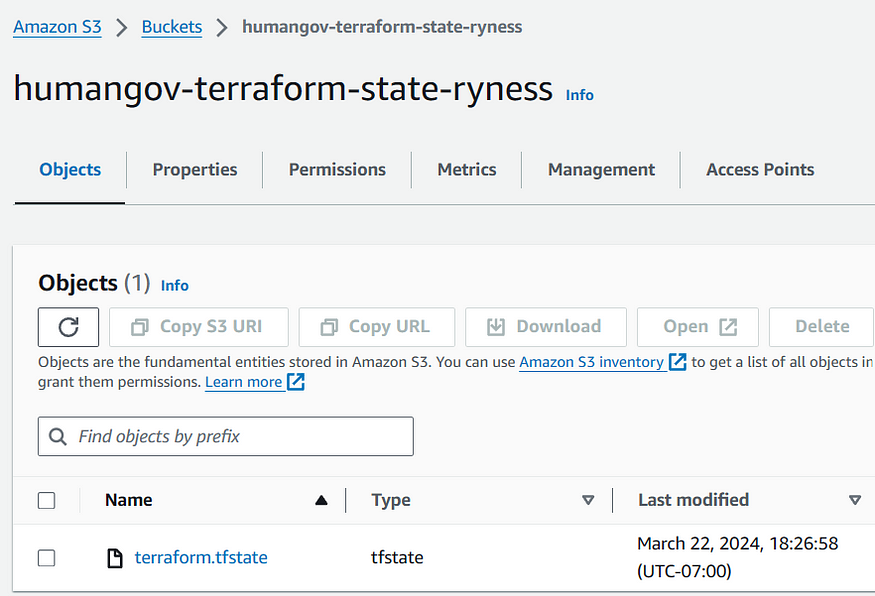
Checking the AWS Console, we can confirm that the ‘terraform.tfstate’ file was migrated to the S3 bucket.
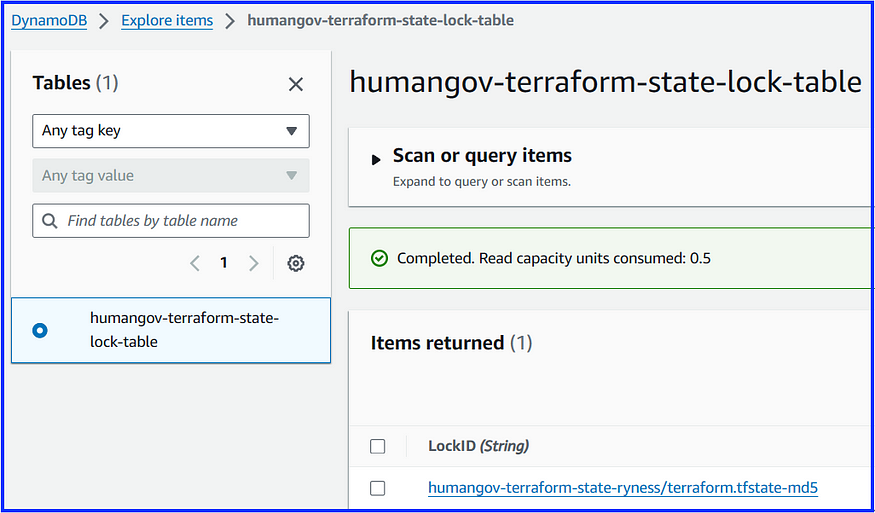
Additionally, we can see that the ‘terraform.tfstate’ lock file was created in the ‘humangov-terraform-state-lock-table” DynamoDB table.
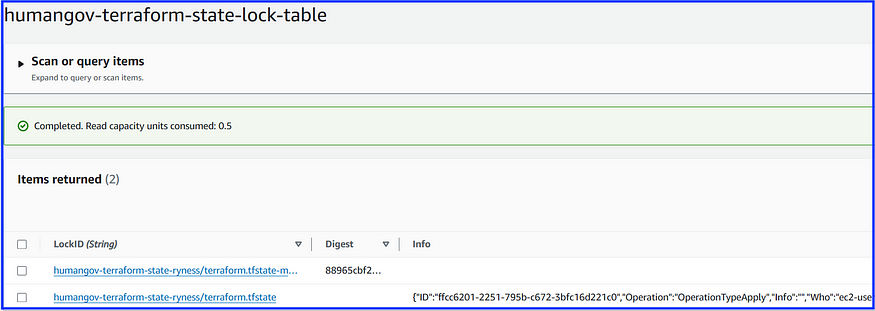
To test further, we’ll perform a ‘terraform destroy’ and confirm that we no longer see a tfstate lock file being created in the local development environment. Instead the tfstate lock file is now being created in the DynamoDB table, as seen below:
(the second file, with the ID, Operation, Who, etc.)
Part 3
Pushing the Terraform configuration files to the remote Code Commit repository
We’ll first create a ‘.gitignore’ file in the ‘terraform’ directory to specify the files we don’t want to copy to the git repository. We’ll then add the following exclusions to the file:
.terraform/
*.tfstate
*.tfstate.backup
*.tfvars
*.tfplan
*.tfr
*.tfstate.lock.info
Next, we’ll run the following git commands to add all the directories and files within the “human-gov-infrastructure” environment to git.
git add .
git status
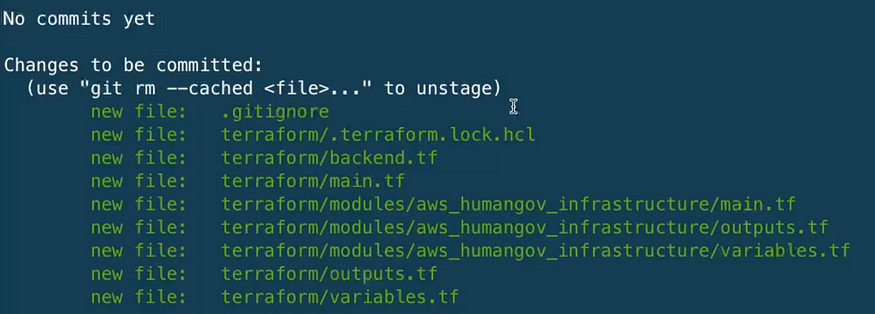
Then we’ll run the following commands to commit and push the directories and files to the “human-gov-infrastructure” remote git repository created in the previous project.
git commit -m “AWS Infrastructure Terraform Configuration-first commit”
git push -u origin
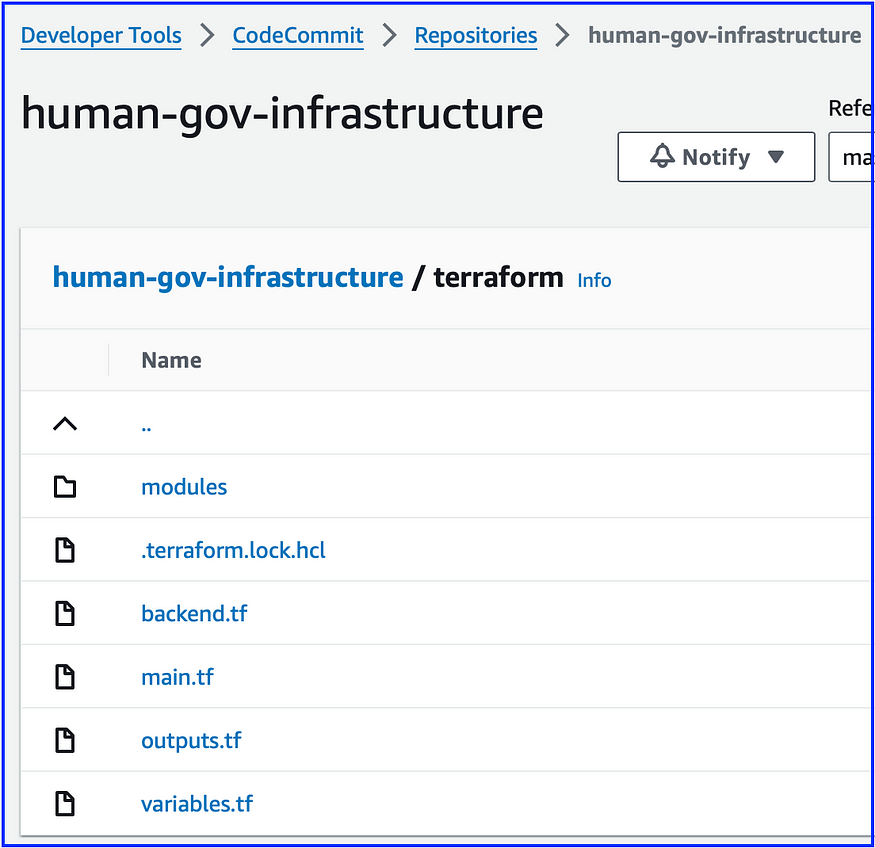
We can then go to the AWS Console and view the terraform configuration files that were commited to the remote git repository in Code Commit.
So, to summarize, for this project we created a Terraform module to iterate through a list of states, creating a set of AWS resources for each state in the list. We then migrated the terraform state to a backend hosted in an S3 bucket and a DynamoDB table, to mitigate the risk or losing or deleting the terraform state from the local development environment. Finally, we commited all our new Terraform configuration files, including the module, to the ‘human-gov-infrastructure’ remote repository hosted in AWS Code Commit. The upshot is this will enable other developers to work from the same codebase while preventing more than one developer from applying changes to the environment simultaneously.
On to the next project!