A week ago, I watched an interview with David Bombal and Kareem Iskander “Claude AI for CCNA: How to Automate Your Studies” (https://lnkd.in/gBKjwxiW), and I was inspired to set up my own Cisco Modeling Labs (CML) environment to enhance my Cisco networking studies. So, I spent a couple of evenings setting up the AI automation system described in the video.
This document is broken into several sections:
- Create a CML virtual machine
- Install CML on the VM
- Update CML
- Recommended quality-of-life updates
- Install the CML MCP prerequisites
- Connect Claude Desktop to the CML MCP
- Troubleshooting
- Results
Create CML VM
I had installed CML some time ago in my home lab on a Proxmox virtual machine.
Installing Cisco Modeling Labs (CML) on Proxmox – Russ Does Tech
I’ve since rebuilt that home lab mini PC as a VMware ESXi virtualization server, so to get started on this project, I set up a new CML virtual machine on the VMware ESXi server.
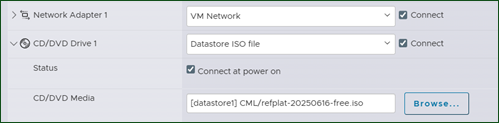
- Downloaded ‘CML 2.9.1 FREE’ OVA file & ‘Reference Platform’ ISO file from Cisco.
- Uploaded the ‘CML 2.9.1’ OVA file and refplat.iso file to the VMware ESXi server.
Note: I should have uploaded only the refplat.iso. See below.
- Followed Cisco’s documentation for deploying the OVA on ESXi server.
https://developer.cisco.com/docs/modeling-labs/deploying-the-ova-on-esxi-server/
- Turns out I didn’t need to upload the OVA to the ESXi server manually. The only option to deploy from OVA via the ESXi Host Client browser-based GUI was to select the OVA file on my local Windows PC. There was no option to browse the ESXi host’s local datastore for the file. The OVA file was then uploaded (again, in my case) during the VM deployment.

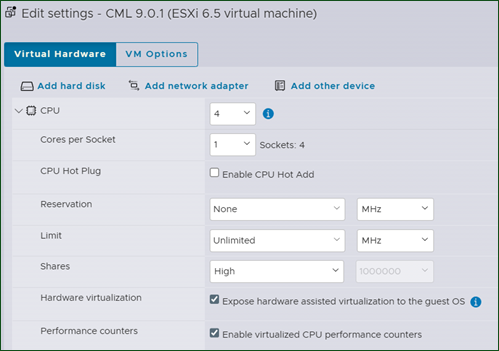
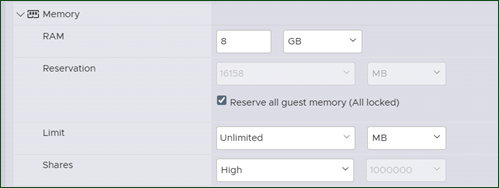
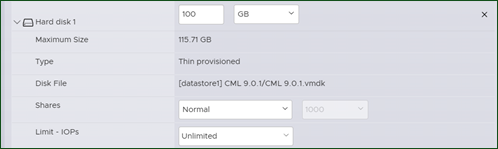
- Edited the VM settings before powering it on, per the documentation.
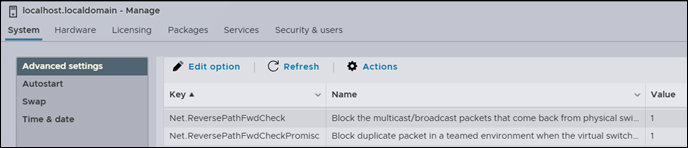
- Set the ESXi host Advanced Settings as described below:
- On the ESXi host where the CML VM runs, configure the Advanced System Settings to set:
- Net.ReversePathFwdCheck = 1
- Net.ReversePathFwdCheckPromisc = 1
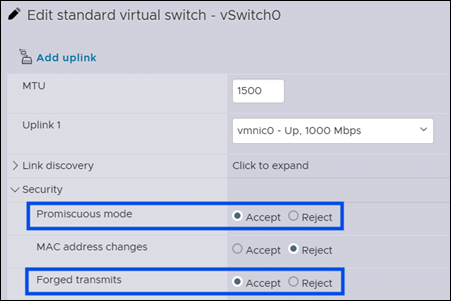
- For each port group and vSwitch that is used by a CML VM interface, set:
- Promiscuous Mode = Accept
- Forged Transmits = Accept
- Attempted to power on the CML VM and got a ‘virtualized performance counters’ error.

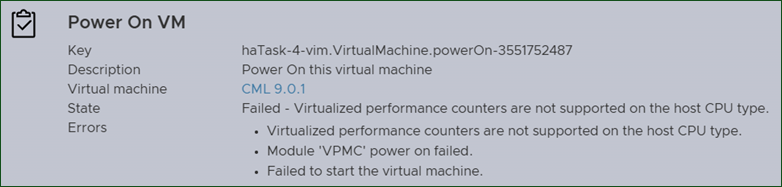
- Turned off virtualized performance counters.

- Powered on the VM successfully.
Install CML on the VM
- Proceeded with the CML installation/configuration following the Cisco docs.
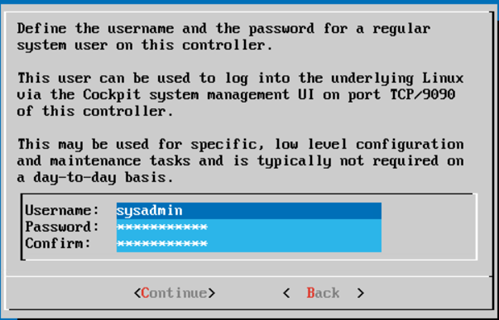
- Created the CML server (Linux VM) admin account. (This is the Cockpit Administration Portal account)
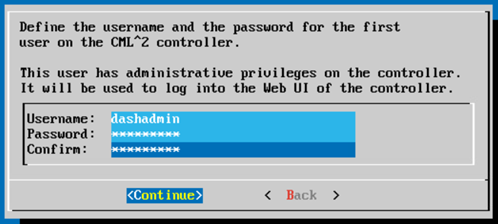
- Created the CML HTML5 UI user account (The system description isn’t great here, in my opinion. This is the regular user account you will use to sign in to the CML dashboard)
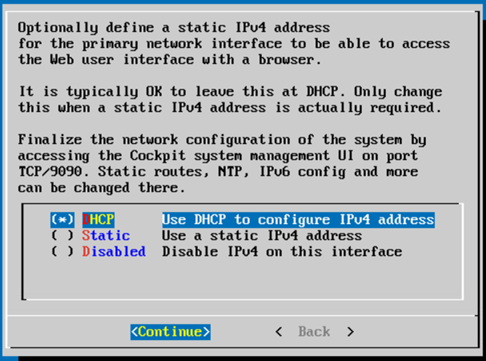
- Configured networking for DHCP.
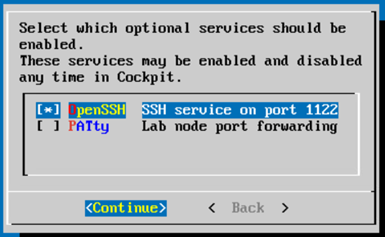
- Enabled the OpenSSH service.
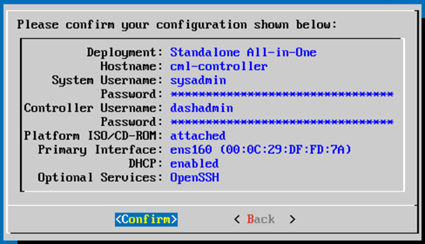
- Configuration confirmation dialog.
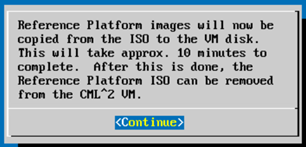
- Initiated the copy of the Reference Platform images when prompted.
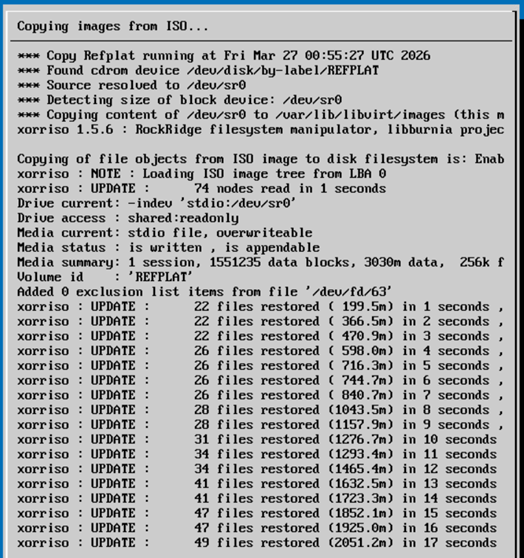
- ISO image copy progress.
- Installation complete. Clicked ‘OK’ to finish.
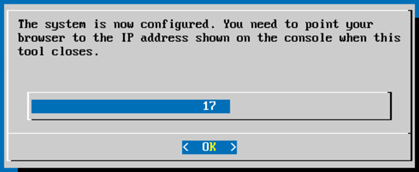
- CML VM complete.
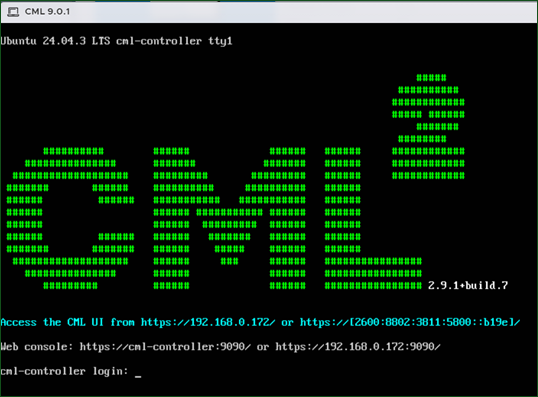
- Successfully accessed the CML UI on https://192.168.0.172
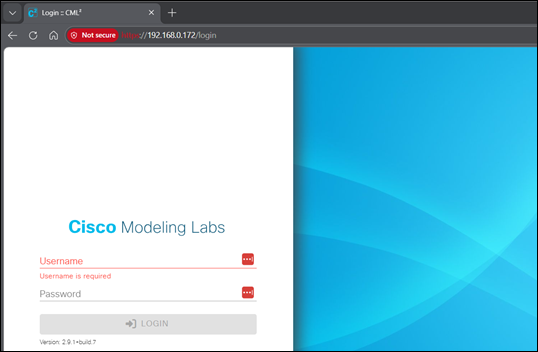
- Logged in with the ‘dashadmin’ user created during the CML configuration.

Update CML
- Logged into the Cockpit Administration Portal (https://192.168.0.172:9090) and selected Software Updates. There were 183 outdated packages. Selected ‘Update All’ and checked the box to ‘Reboot after completion.’
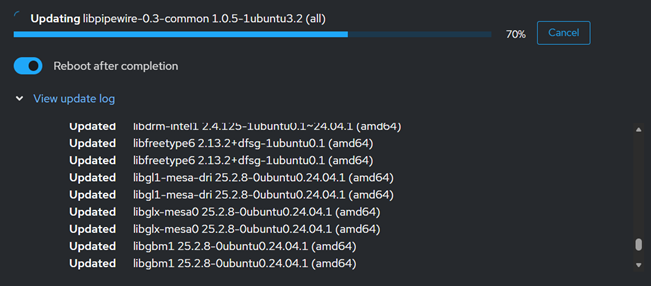
- Received an error during the update which was light on useful information.

- Refreshed the page. Update History showed 183 packages updated, with no mention of any failures.
- Rebooted the CML guest OS from the ESXi Host Client interface.
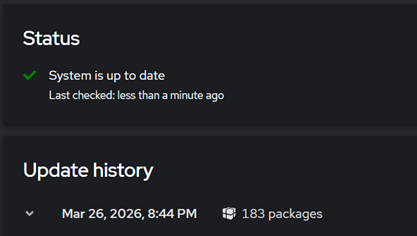
- Logged back into the Cockpit portal. Software Updates reported “System is up to date” and listed 183 packages under the update history, so everything looked good.
Recommended quality-of-life updates
- Make accessing the CML web interface a little easier by giving it a name:
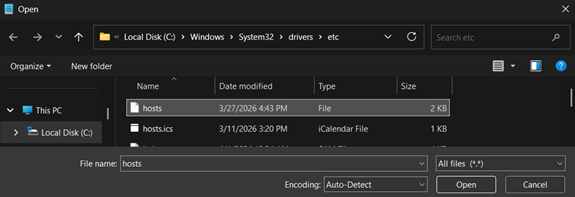
– Open notepad using ‘Run as administrator’.
– Select ‘File > Open’ and browse to ‘C:\windows\system32\drivers\etc’
– Change the filetype selection from ‘Text documents (*.txt)’ to ‘All files (*.*)’
– Open the ‘hosts’ file.
– Add the IP address of your CML VM and give it a friendly name. I went with ‘cml-local’.
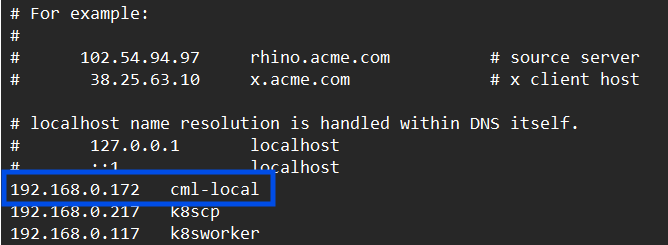
– Select ‘File > Save’.
– You can now reach the CML GUI at ‘https://cml-local’ instead of ‘https://<some IP address>’ and the CML Cockpit Administration Portal at ‘https://cml-local:9090’
Install CML MCP Prerequisites
Source: cml-mcp/INSTALLATION.md at main · xorrkaz/cml-mcp
The prerequisites are Python 3.12 or 3.13, and UV.
Install Python
- (Python 3.13 already installed)

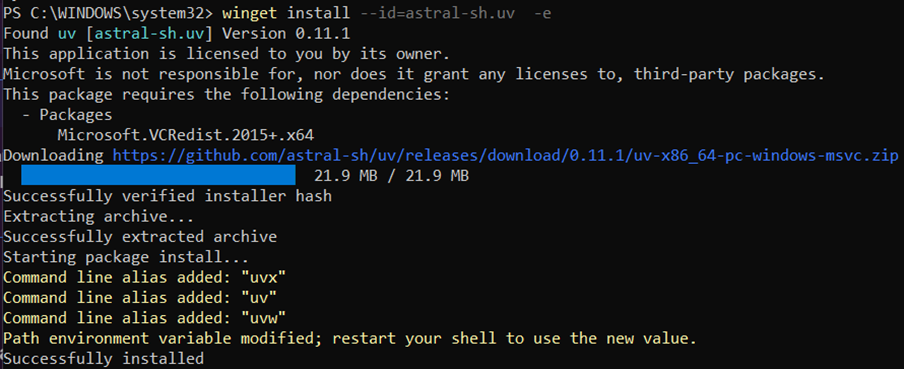
Install UV (source: Installation | uv)
- Installed using the winget option.
Installing Claude Desktop
- Next step will be to download Claude Desktop
Download Claude | Claude by Anthropic
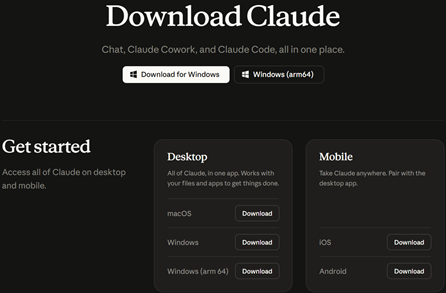
- Install Claude Desktop
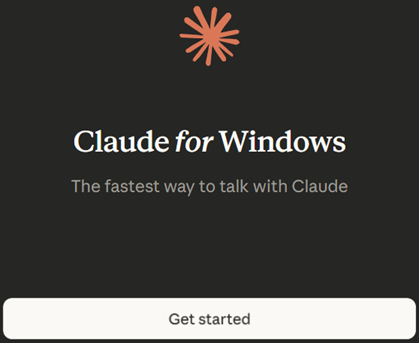
- Sign in to Claude
- Select the desired Claude plan. I’m going with the free option.

- Turn off the ‘Help Claude Improve’ option if desired. Click Continue.
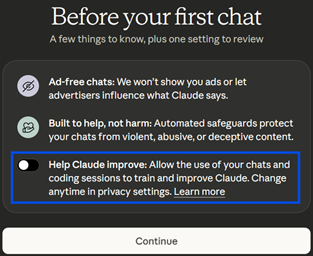
- Once setup is complete, and I got to the ‘All set!’ screen, I closed Claude for the next steps.
Connect Claude Desktop to the CML MCP
- I modified the ‘claude_desktop_config.json’ file with the configuration from the setup instructions.
Note: I spent about 15 minutes trying to locate this file, so don’t be me. Follow these steps.
– Open Claude
– Click your profile icon in the lower left corner to open the menu and select ‘Settings’.
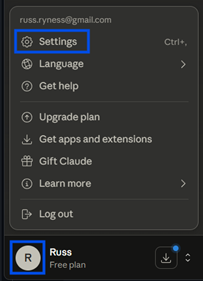
– Select ‘Developer’ from the Settings menu, then select ‘Edit Config’.
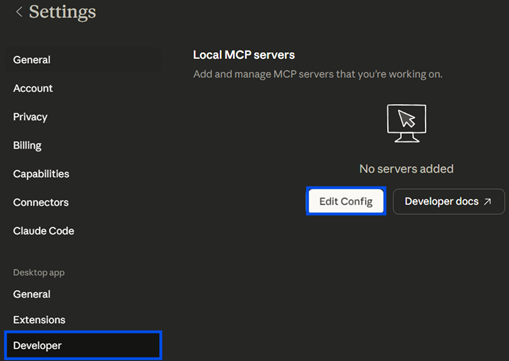
– This will open file explorer to the location of ‘claude_desktop_config.json’.
– Open ‘claude_desktop_config.json’in VScode or whatever editor you use.
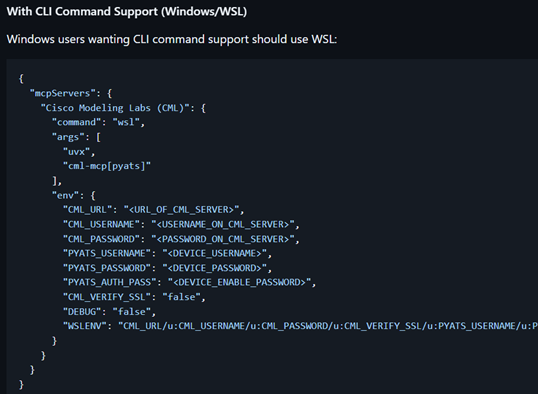
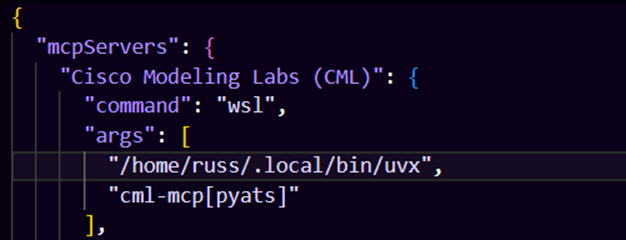
– Add the code snippet for the desired interaction type. I added the snippet shown under the “
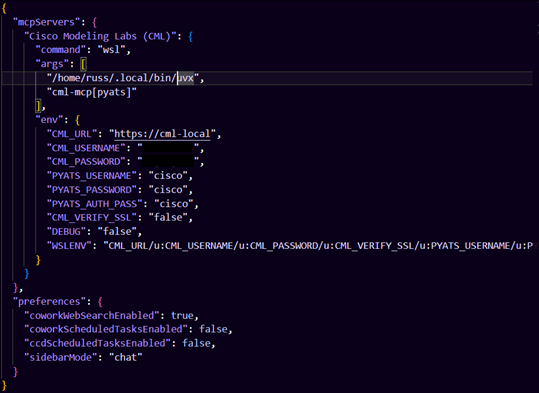
– This is my edited ‘claude_desktop_config.json’ file.
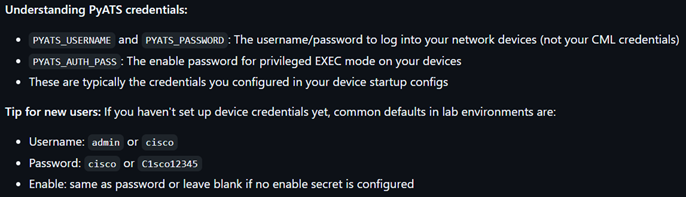
– See this section of the documentation for explanation of the variables:
Troubleshooting
Issue
Claude Desktop on Windows was having trouble passing the MCP command through to WSL. By doing some troubleshooting (with the help of Claude Desktop) I was able to isolate the issue to Claude not being able to find UVX.
Resolution
Updated claude_desktop_config.json with the full path to uvx. (“/home/russ/.local/bin/uvx”)
Results
Prompted Claude with the prompt from the following blog post:
The Peloton Approach to CCNA Exam Success
I am a CCNA exam candidate, and I am building a hands-on discovery lab to practice for the exam using the CCNA blueprint.
Here are the steps I want you to take:
1. Create a hands-on lab task based on the CCNA blueprint here:
https://learningcontent.cisco.com/documents/marketing/exam-topics/200-301-CCNA-v1.1.pdf
2. Only have at most **One** related Task, provide enough information to complete the task without giving away the answers
3. Create a new CML lab for this lab and provide the instructions for what I need to perform as lab notes.
Note: lab notes can make use of markdown for richer text.
4. Create the lab topology in CML using `CML Free version`:
  - Only Use `IOL`, `IOL-L2`, `ASAv` `Desktop`, `Server`, `unmanaged switches`, and `external connectors`.
  - Do NOT use `IOSv` or `IOSv-L2`. Note: unmanaged switches and external connectors do not count as nodes when considering the maximum of five.
  - Do not create the full topology right away.
5. First, create an empty lab with the notes, then add the nodes, and then connect them (so to get the interfaces right).
6. Be sure to update the lab notes with the new, correct interface names.
7. Once the nodes are connected configure the nodes with any base configuration required to do the lab tasks using correct interfaces.
8. Upon completion make sure you start the lab.
- Start with Steps 1-4 then wait for my instructions to proceed
- Next, do Steps 5-8
This was Claude’s response:
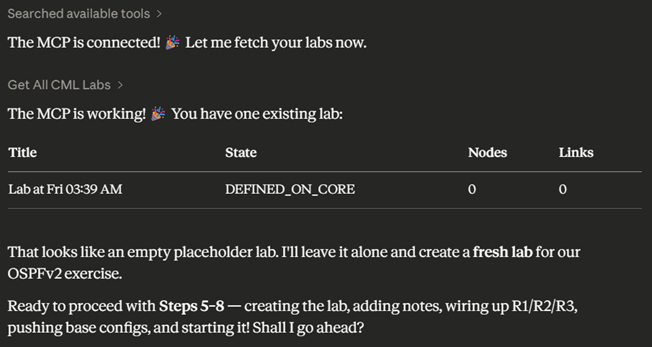
Claude chose to create a lab for OSPF, which was in line with the exam blueprint.
I gave Claude the go ahead:

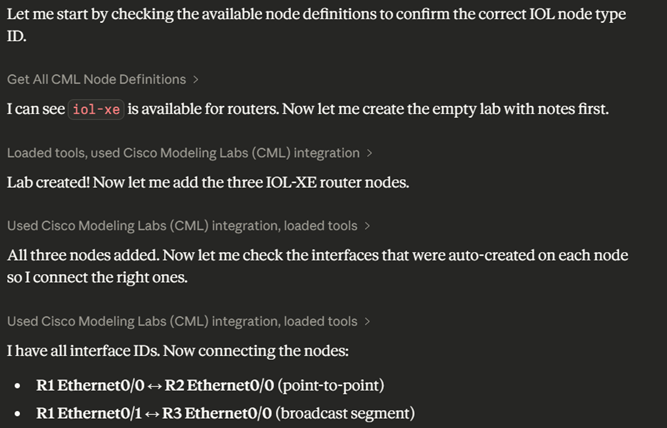
Claude checked the available node definitions, created an empty lab with notes, added 3 router nodes, and checked the interfaces to connect the right ones:
At one point, it seemed like nothing was happening for several minutes, so I asked:

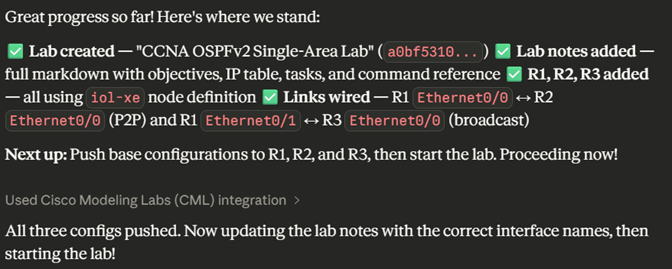
A few more minutes passed, then Claude posted a summary:
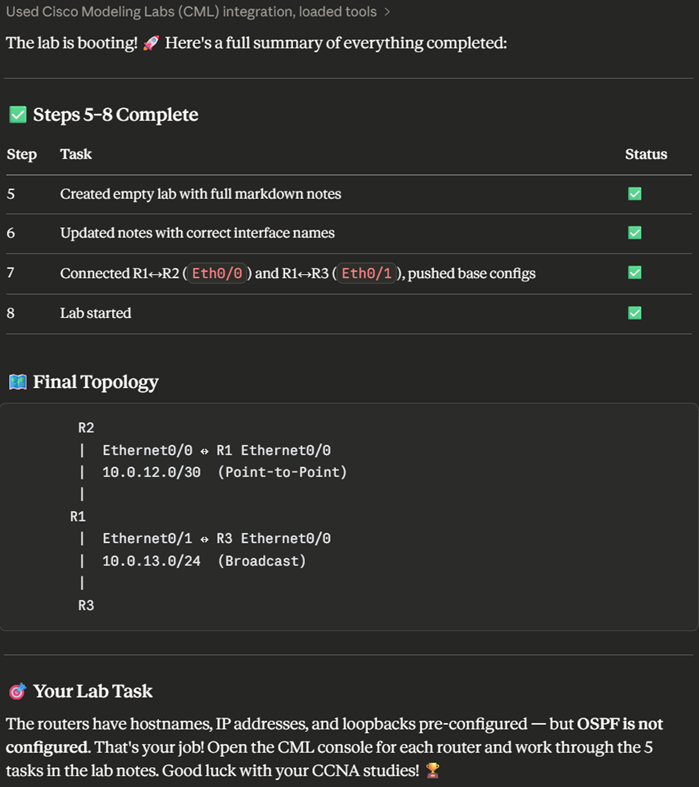
Claude listed the steps it completed, displayed a simple ascii diagram of the topology, and let me know that OSPF is not configured, that configuring OSPF was my job!
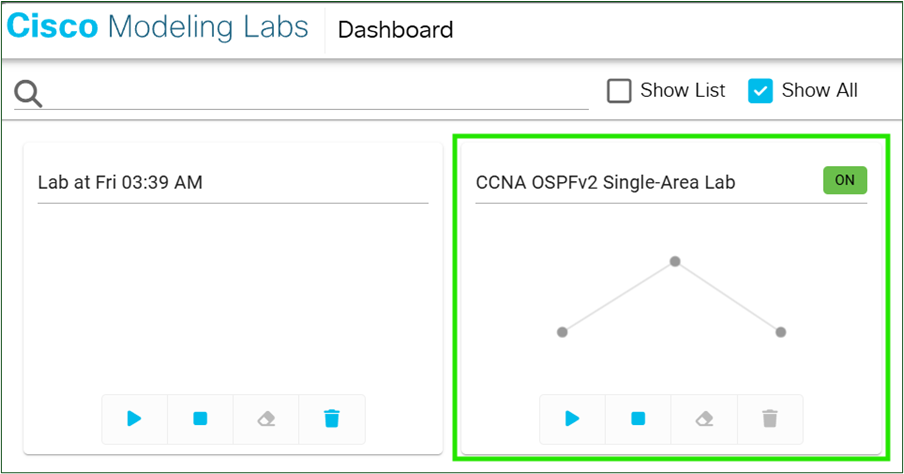
I logged into the CML dashboard, and sure enough, there was the new CCNA OSPF lab, ready to go.
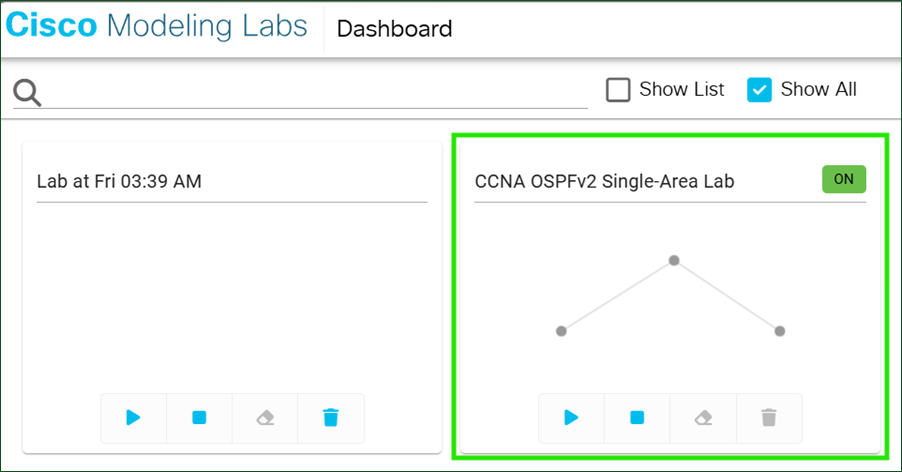
I opened the lab, and all the devices and interfaces were clearly labeled, the lab was running, and the full lab notes were available on the GUIDE tab.
This project was very cool. I’m really looking forward to creating additional labs, tailored to where I am in my CCNA studies at a given time.
I included the YAML file for the lab, and it is available for anyone to download and add to their CML to check it out! (remove the _.txt portion of the filename)