
In this project, I created an Organization to manage the hierarchy of the company’s AWS accounts, then federated AWS IAM Identity Center with Microsoft Entra ID.
An added benefit of creating an Organization is that IAM Identity Center can then be enabled at the Organization level, which gives one the ability to manage access to AWS entities across all of an Organization’s AWS accounts from a single place. With legacy AWS IAM, one would need to sign in to each AWS account individually and set up access for users to the entities within that specific account. If those same users required access to entities within a different AWS account, one would need to sign in to the second AWS account, set up access, and so on. It adds a lot of administrative overhead. Using Identity Center at the Organization level greatly eases administration efforts, without negatively impacting our ability to grant granular access to accounts and entities.
In the AWS Console, I opened the AWS Organizations page and selected Create an Organization. I entered the organization’s Management account name and Management account email address and clicked Create Organization.
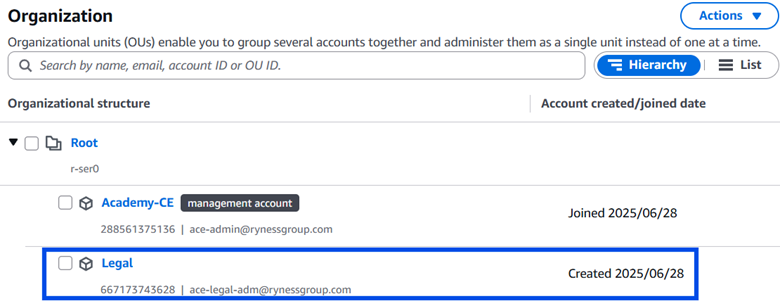
To add a member AWS account, I clicked ‘Add an AWS Account’ and then selected Create an AWS account. I entered an AWS account name (“Legal”) and an email address for the account’s owner.
*Note: Each new AWS account requires a unique email address. The Management account email address cannot be reused for member AWS accounts.
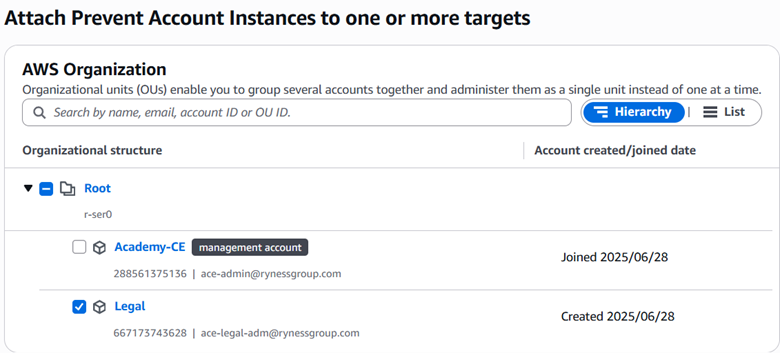
Once complete, the new AWS member account will appear in the hierarchy.
Next, I enabled IAM Identity Center by opening the IAM Identity Center console, and then choosing Enable under Enable Identity Center, reviewing the information, and selecting Enable again to complete the process.
Add a Service Control Policy to prevent the creation of account-level Identity Center instances
Since I want all access and permissions to be managed by IAM Identity Center at the Organization level, and not independently by each member AWS account, I want to create a service control policy (SCP) to prevent the creation of account-level Identity Center instances. To do so, I followed the suggestion bubble “Prevent account instances” in the Central Management section of the IAM Identity Center.
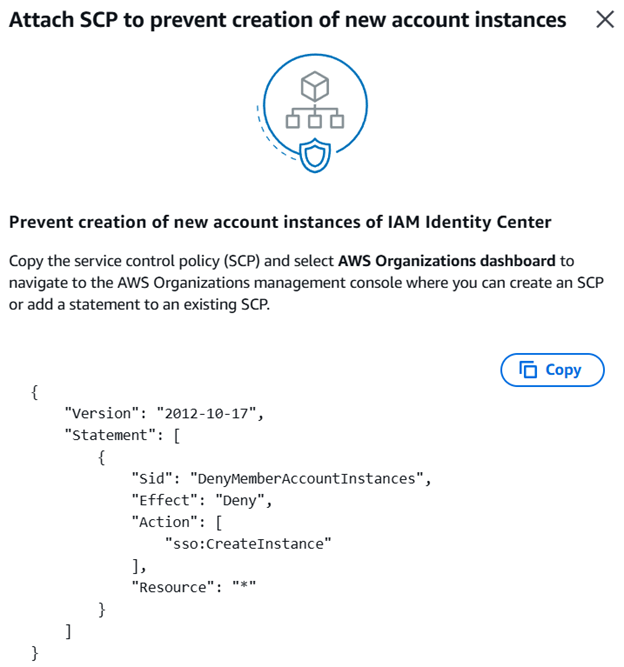
I copied the service control policy JSON text, then opened the AWS Organization console and selected Policies from the sidebar. I selected Service control policies from the list, and then selected Enable service control policies in the top-right corner of the page.
Next, I selected Create policy and gave the policy a name of ‘Prevent Account Instances.’
I removed the existing policy statement from the box, pasted in the JSON I’d copied previously, and clicked “Create policy.“
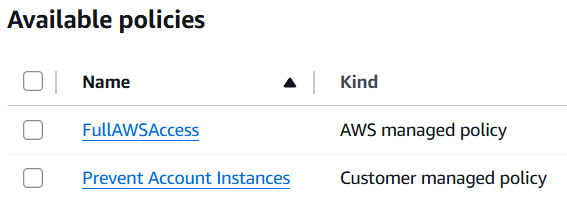
To attach the new policy, I checked the box next to the Prevent Account Instances policy and selected Actions > Attach Policy. Then I checked the box next to the Legal AWS account and clicked ‘Attach policy.’ A banner let me know the action was successful.

Now, admin users of member accounts cannot set up individual Identity Center instances on their member accounts.
Configure SAML and SCIM with Microsoft Entra ID and IAM Identity Center
The next part of the project is to change the identity source of the AWS IAM Identity Center from the internal directory to Microsoft Entra ID so that IAM Identity Center will use federated identities from the company’s corporate identity provider, Entra ID. This will use SAML (Security Assertion Markup Language) for user login, and SCIM (System for Cross-domain Identity Management) for automatic user provisioning.
AWS has a very detailed doc with steps for setting this up, see below. I will say that the doc contains a good number of extra steps for testing sign-on using a test account that aren’t strictly necessary.
Configure SAML and SCIM with Microsoft Entra ID and IAM Identity Center – AWS IAM Identity Center
I won’t be reproducing the AWS article here, but I’m going to summarize the process as best I can.
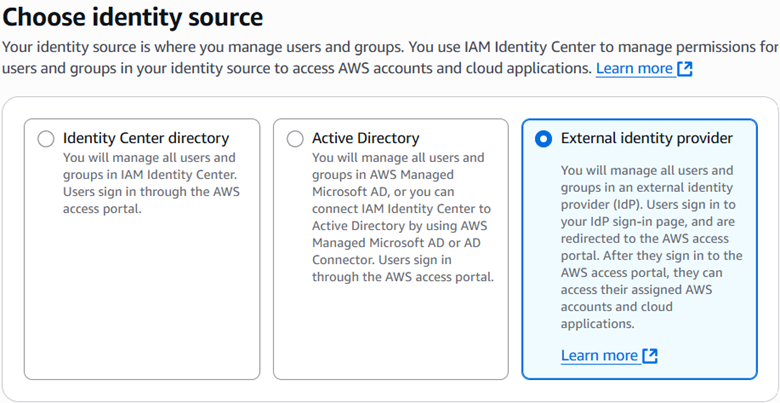
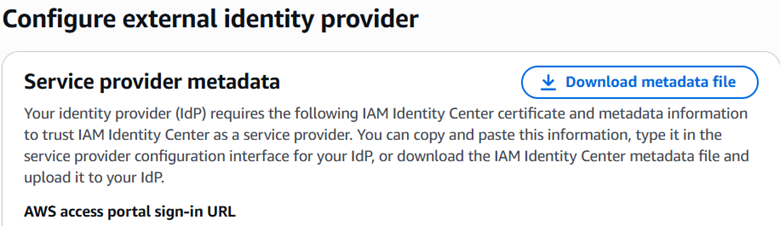
I began in IAM Identity Center by downloading service provider metadata. I went into Settings to the Identity source tab and selected Actions > Change identity source, then selected External identity provider.
I downloaded the metadata file for use later and copied the AWS access portal sign-in URL. I used them both to set up Entra ID in the next steps.
I went to the company’s Entra Portal, signed in using an admin account, and added the “AWS IAM Identity Center” Enterprise application.
Within the AWS IAM Identity Center app, I chose Set up Single Sign-On, chose SAML, clicked the Upload metadata file link, and selected the XML metadata file I downloaded from IAM Identity Center. This populated the Basic SAML configuration page. I pasted the AWS access portal sign-in URL value into the Sign on URL field and clicked Save.
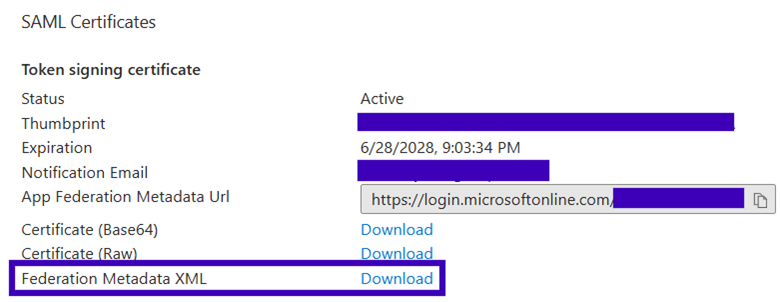
In the SAML Certificates section of the page, I selected and downloaded the Federation Metadata XML for use in the next steps.
Back on the AWS IAM Identity Center ‘Configure external identity provider’ page, under IdP SAML metadata, I clicked “choose file” and selected the Federation Metadata XML file downloaded from Entra ID.
Finally, I selected Change Identity Source to apply the changes.
Next, I set up SCIM for the automatic provisioning of users from Entra ID into IAM Identity Center.
In IAM Identity Center, I went to Settings and then under the Identity source tab. As seen below, the Provisioning method is set to Manual.

I clicked “Enable” in the Automatic Provisioning section.

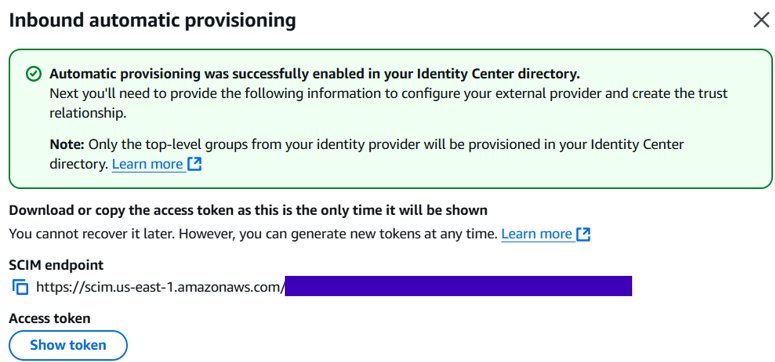
The Inbound automatic provisioning then appeared, and I copied the SCIM endpoint URL and clicked Show token and copied the displayed token value, then clicked Close.
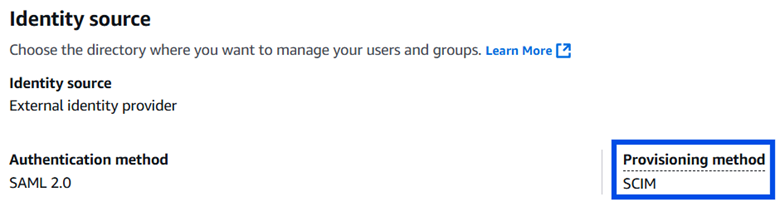
The Provisioning method is now set to SCIM.
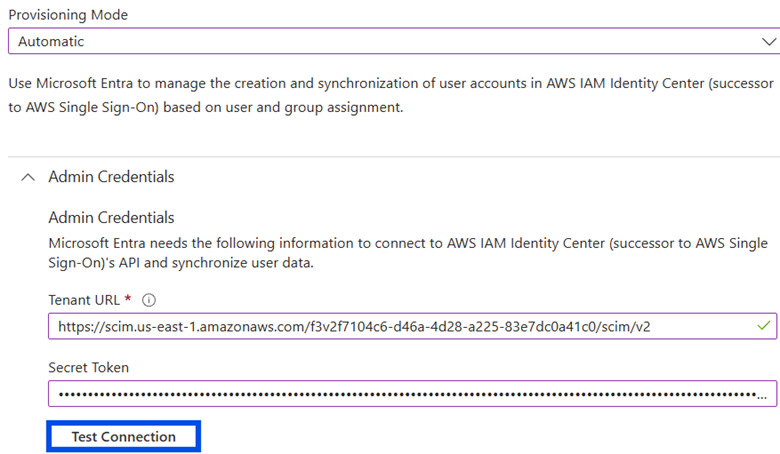
In the Entra admin center, I went back into the AWS IAM Identity Center and navigated to Identity > Provisioning > Manage > Provisioning and changed the Provisioning Mode from Manual to Automatic, which opened the Admin Credentials dropdown.
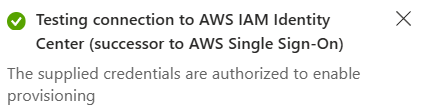
I pasted the SCIM Endpoint URL into the Tenant URL field and the Access Token value into the Secret Token field, clicked Test Connection, and saw an authorization confirmation.
Finally, I clicked “Edit provisioning” and under Settings entered a notification email address, set the Scope to ‘Sync only assigned users and groups,’ and set Provisioning Status to On. This ensures that only the users and groups assigned to the AWS IAM Identity Center application within Entra ID will get provisioned in AWS.
I added two users, Foggy Nelson and Rich Roe, to the Entra ID AWS IAM Identity Center application Users and Groups, and then went to the Overview page and selected Start Provisioning to begin syncing those accounts to AWS.
Sometime later, back in the AWS Console, I confirmed that the users were listed in AWS IAM Identity Center. The users FNelson and RRoe were created by SCIM.
Setting up ABAC (Attribute-Based Access Control)
First, I had to enable the Attributes for access control feature in AWS IAM Identity Center.

Then, using the IAM Identity Center Multi-account permissions, I created a new permission set with the AdministratorAccess predefined policy, and then assigned the permission set to the RRoe user.
Testing
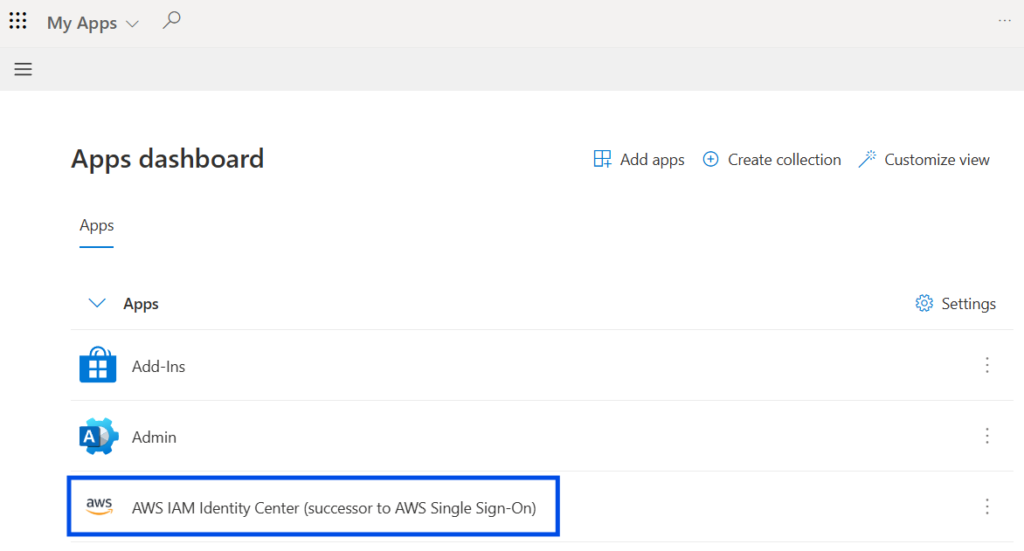
To test, I signed into the Microsoft My Apps portal (https://myapps.microsoft.com)using the RRoe test account and launched “AWS IAM Identity Center” from the list of apps.
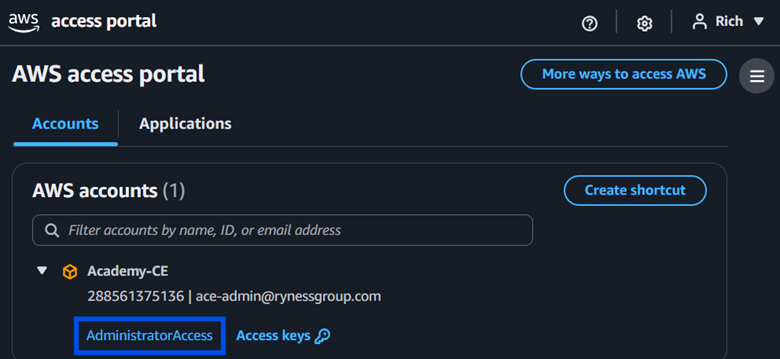
I expanded the Academy-CE account, and RRoe does have Administrator Access listed, as expected.
I clicked on Administrator Access and RRoe was taken to the AWS Console with the AdministratorAccess permission set I created.

Final Thoughts
This project was a good refresher on federating AWS IAM Identity Center with Microsoft Entra ID. I plan to dig into this more at a later date and build out the project with a focus on limiting the scope of access to AWS entities based on departments or other criteria.